How to Curl your Human Hair Wig with a Straightener

Curling a wig with a straightening iron is easier than it sounds, and you don’t need professional skills to get a natural result. With a few simple steps and the right approach, you can add soft movement and shape that makes the hair look more like it’s been worn and styled.
This step-by-step guide will walk you through how to curl a human hair wig using a straightening iron, working on a mannequin head at your own pace.
What you’ll need to create curls with a straightening iron
-
A mannequin head + clamp or heavy base (so it won’t wobble)
-
Wig stand pins (optional, but helpful)
-
Straightening iron (with adjustable temperature)
-
Wide-tooth comb + a few sectioning clips
-
Heat protectant (safe for human hair wigs)
-
Hairspray (optional, light hold)
Important: Only use heat tools on human hair wigs (or a heat-friendly synthetic wig that explicitly allows heat).
Step #1: Secure the Wig on a Mannequin Head
Place the wig on the mannequin head the same way you would wear it, lining up the hairline and part. Pin the wig in place so it doesn’t move while you work. A stable wig makes styling much easier and safer.
Step #2: Gently Detangle and Prep the Hair
Use a wide-tooth comb to gently remove any tangles, starting at the ends and working up. Lightly apply a heat protectant through the mid-lengths and ends. Make sure the hair is completely dry before using heat.
Step #3: Set Your Straightener to a Low Heat
Start with a low to medium heat setting, around 300°F (150°C). This is usually enough for a human hair wig. If the curl doesn’t hold, you can increase the heat slightly, but it’s best to start low.
Step #4: Section the Hair
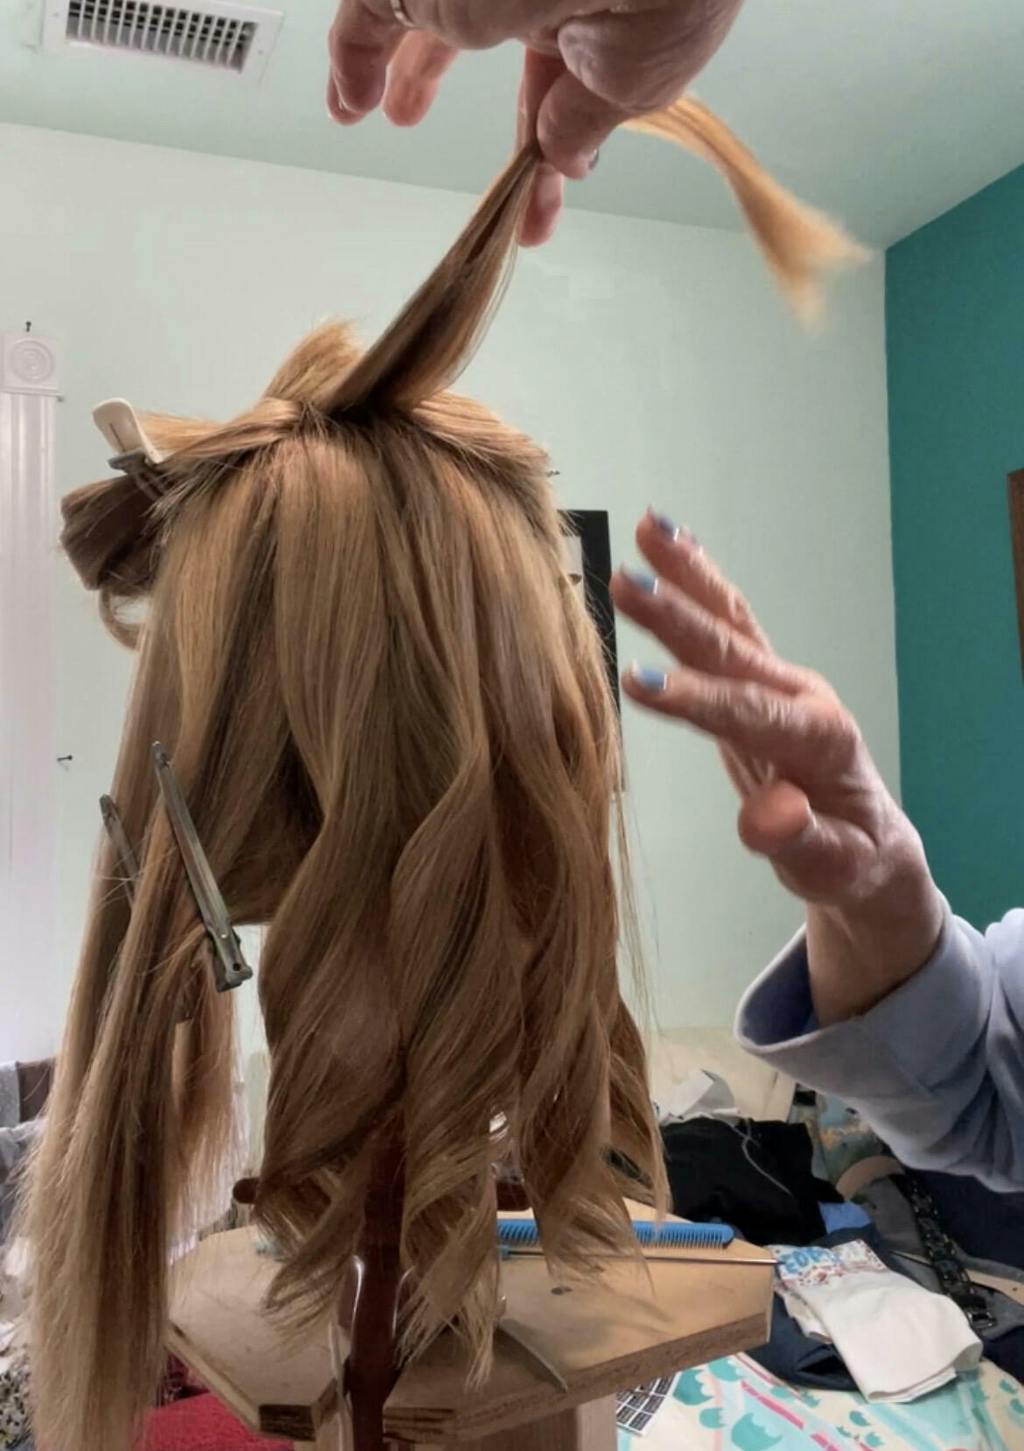
Create a part from ear to ear and clip the top section out of the way. Work from the bottom up, taking sections about one to two inches wide. Smaller sections create more curl, while larger sections create softer waves.
Step #5: Curl Each Section With the Straightener
Clamp the straightener near the root of the section, being careful not to touch the wig cap. Turn the iron half to one full turn, then slowly glide it down the hair. The slower you move, the more defined the curl will be.
Step #6: Let the Curls Cool Completely
Once a curl is released, let it cool before touching it. Cooling helps the hair hold its shape. Avoid brushing or combing until all sections are fully cool.
Step #7: Soften and Shape the Style
Use your fingers or a wide-tooth comb to gently break up the curls. Keep the top slightly looser for a more natural look. If needed, finish with a very light mist of hairspray.
Step #8: Make Final Adjustments
Step back and look at the wig from different angles. Adjust the part, soften the front pieces, or loosen any curls that feel too tight. Small tweaks often make the biggest difference.
Common mistakes (and quick fixes) for curling a wig with a straightening iron
-
Curls dropping quickly: Lower your section size, slow the glide, and let curls cool before brushing.
-
Too tight / ringlet-y: For looser curls, move the straightener more quickly down the hair.
-
Crimp marks: Keep the iron moving; don’t pause mid-shaft and don’t pull on the hair with the iron.
-
Flat roots: Add lift at the root by curling slightly higher up (without touching the cap).
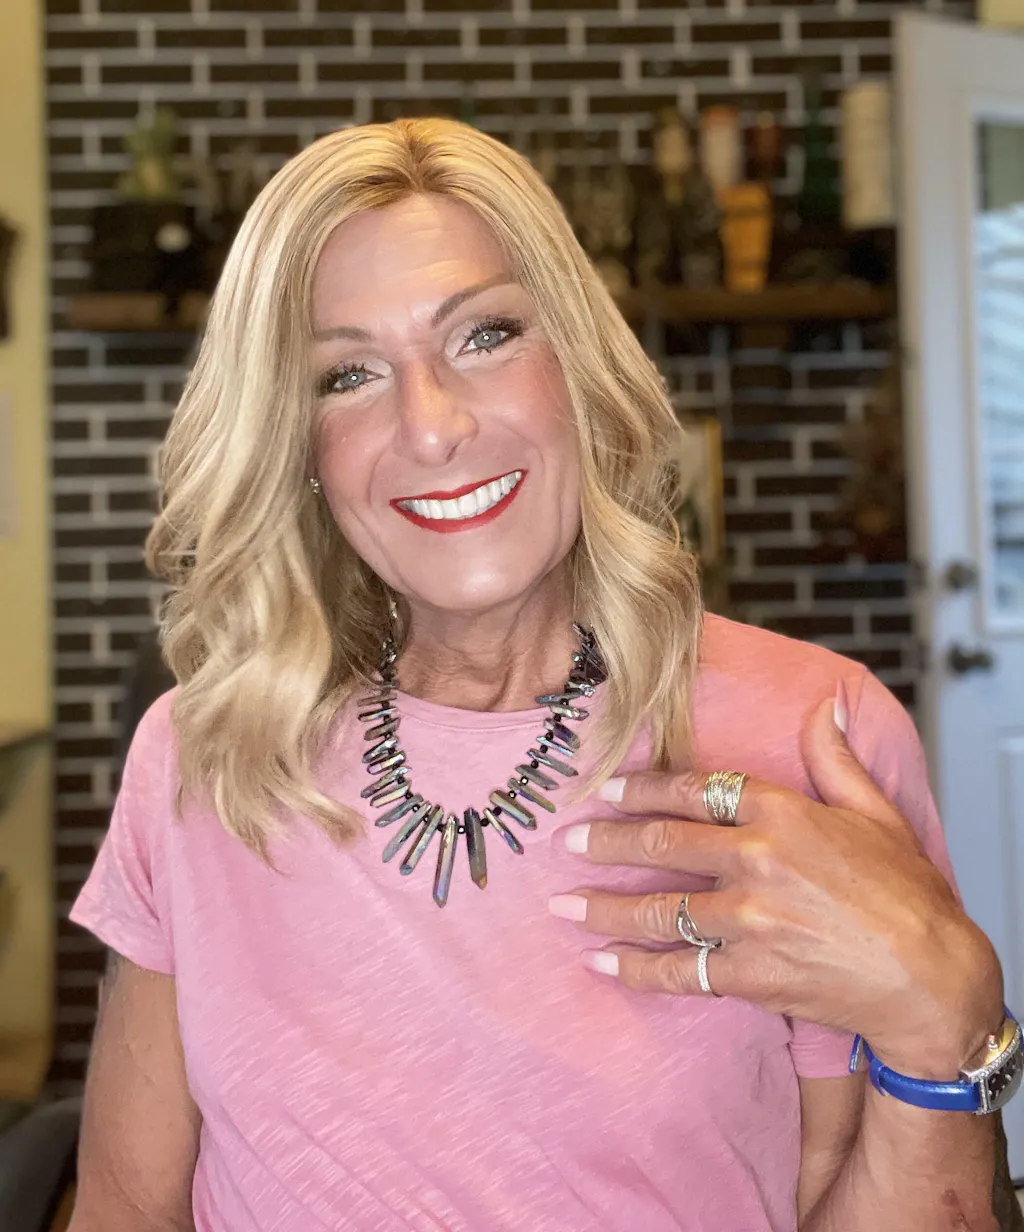
Curling a wig with a straightening iron doesn’t have to be complicated. With a little practice, the process becomes quick and familiar, and small adjustments can make a big difference in how natural the hair looks.
If you’d like personalized guidance or want to learn more about Follea human hair wigs by Daniel Alain, booking an appointment with one of our stylists can be a helpful next step. They can answer your questions, offer styling advice, and help you explore options that suit your lifestyle and preferences.